Have a question? Enter a search term. Or give us a call at 1-888-518-0818

The employee profiles in Smart Service Cloud can be customized individually. Upon purchase of the program, the only user profile is the “Admin Account” profile. You can create as many profiles as you would like, but you will be billed based on the number of active profiles.
Please consider how many users your business requires before creating multiple profiles. This section can be found in the Human Resources Center at the top of the screen and is labeled “Employees”. Once there, click on an existing profile to edit, or click the plus symbol to create a new profile.

In the image above, you can see tabs at the top of the screen for General and Security and Roles. You will see tabs for Commissions and Text Messaging if you have permissions for those roles. We will cover roles momentarily. Let's start with the General Tab.

This section contains your name and your title. These titles come from a list of custom titles that you can create by going to the Administration Center and selecting "Titles".
Click on the arrow in the Title field to create titles. Simply drag and drop the employee photo as prompted. This photo is shown internally as well as on documents sent to customers such as quotes and work orders.
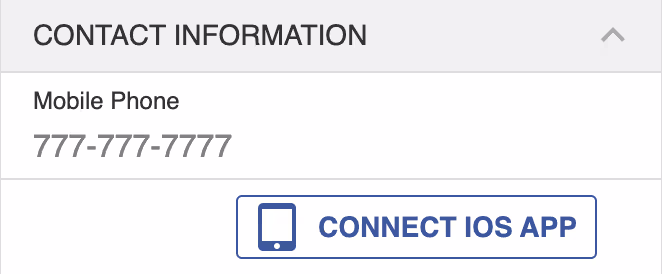
A mobile phone number here will be used to text the app link and password to your user later. Also, this number will be used to send text messages to the employee.

The address entered here will be used for routing for this user. This should be the starting/ending location for this user if you plan to use our Route Logistics feature.
If the user has no GPS stamps in the system, this location will be shown on the Dispatch Board when looking at the “Show Map” option.

The calendar color changes the color associated with this user profile on the Dispatch Board. There is a list of colors available here.

Enter the user’s email address and the password for this email address here. If your technician is having issues or receiving an error when sending quotes or work orders, you might want to double-check the information entered here.
When you email a customer something, it will come from this email, so make sure you pick the right one!
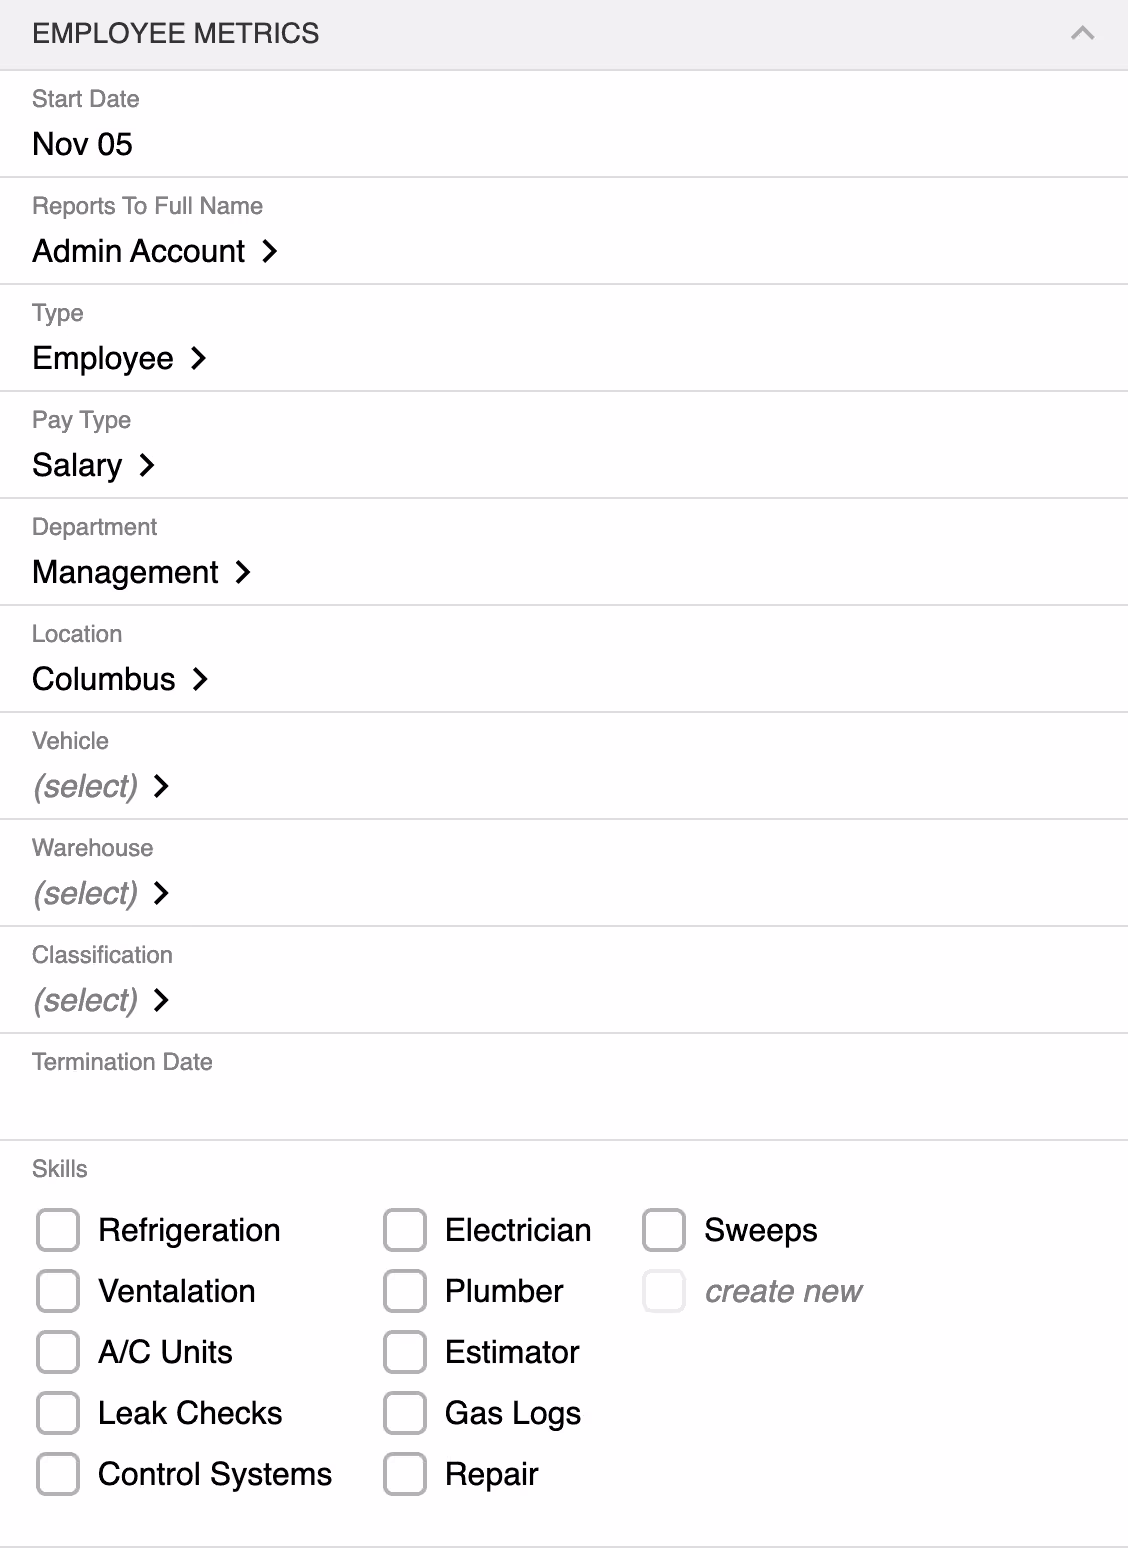
This section holds information about the employee. Enter their start date, then define who they report to by clicking on the arrow. In the "Type" field, you can click on the arrow and a Employee Type window will appear. You can select a type from the list, or create a new type by clicking on the plus button on the bottom-right of the window.

You can also manage these employee types by going to Administration > Employee Types.
This process is the same for Pay Type, Department, Location, Vehicle and so on. Click on the corresponding arrows, select from the list or create a new one, and manage them by going to The Administration Center.
You can also use this section to manage “Employee Skills”. This skill list can also be edited in Administration > Employee Skills, and new options can be created here. This is particularly helpful when you are using the “Suggestions” feature when scheduling appointments from the Dispatch Board.
In the Security and Roles section, you have control over what each employee can access. It's about finding the right balance - giving them the tools they need for their job without risking important or sensitive information. This way, you define who gets to see and use specific resources.


In the Security section you will see a switch that allows you to make an employee active or in-active. This allows you to de-activate an employee without deleting their history. By activating an employee, a user name and password will automatically be generated for them to log in to Smart Service Cloud.
Also, you can choose whether or not to have this employee show up on The Dispatch Board.
This is an example of a full admin with all of the necessary permissions to use any part of Smart Service Cloud. Individual users can be customized as needed.
If your business doesn’t use a particular part of the program, you can uncheck that option for all profiles to hide those options from users. This will allow you to cut down on the number of tabs to visit in the program as well as keep users focused only on what they need.
Each permission is outlined in the expandable section below. We will also include some examples of common profiles below that list.
There are many permissions and options for profiles in Smart Service Cloud, you will also notice some permissions appear quite similar. For example, the difference between “Appointments” and “My Appointments” is whether you want this user to see all appointments or just the ones assigned specifically to that user.

This is an example of what a standard office user should look like. The permissions assigned to this individual will allow them to do most of the daily activities in the program, without the ability to cause issues or see sensitive company information.

This image corresponds to what we consider to be the most common permissions assigned to field users from our customer base. The technician can handle items assigned to them, order parts, and collect payment in the field. Further permissions are entirely optional.

These Work Order options determine what this user can do on work orders. They will require at least one of the work order related permissions from the section above to make use of these permissions.
Remember that deselecting these items for this profile will take away those options entirely, so be sure to think through the user’s workflow before removing these options.

The Daily Hours Goal refers to the total amount of work an employee is expected to complete in a day, measured in production hours rather than scheduled time slots. By default, the Daily Hours goal is set to 8 hours.
The Daily Revenue Goal represents the financial goal for a given employee, indicating the total dollar amount of work that should be completed in a day. By default, the goal is set to $1,000.
Maybe this employee is a highly skilled technician who may complete more work in less time, so their goals could be set higher. Setting these goals is essential when you are using the Route Logistics Calendar.
The Commissions section is relevant only for those who receive commission pay, and will only be visible if the employee has the "My Commissions" permission. Smart Service Cloud will automatically calculate the owed commission.
Here, you can specify the commissions to be paid to the employee. You can add an existing commission or create a new commisson by clicking on "NEW". You can manage commissions in the Commission Center.
Learn more about Commissions here.

You will only see the Text Messaging tab if you have the permission. To learn more about Text Messaging in Smart Service Cloud, read this article.
