Have a question? Enter a search term. Or give us a call at 1-888-518-0818

You will find your invoices by hovering over The Accounting Center at the top of your screen and selecting "Invoices".

The way you choose to invoice each customer is determined when you create a Work Order. Start with creating a Work Order which will ultimately be turned into an invoice. Fill in the pertinent information as you normally would.


In the "Work Order Invoicing" section you will be presented with some invoicing options. We will cover each one individually.

In the Bill To Style field, you can choose to bill “This" customer, the "Parent" customer, or “Other” customer.
If you choose "This" customer, you will be billing the customer that you selected in The Customer Info Section.

Some of your customers will have what we call “Parents”. In many instances, you might be servicing the franchise location, but sending the bill to their headquarters.
You can add a Parent Customer to any Customer Profile.

If you select “Other" customer, a field will appear below where you can select any customer that you have on record. Or create a new customer.
This would be a good option to use when you want to service a customer but send the bill to an insurance or warranty company.

Invoice Styles give you flexibility when invoicing work orders.
If you choose “Manual Invoice” an invoice will be created once you click the “invoice” icon on the bottom of a completed work order.

By selecting "Immediate Invoicing", an invoice will automatically be created once the project status is changed to “completed”, either by you, or the technician in the field.
Immediate Invoicing is a good option if you’re only visiting a customer once.

The “Draft Invoicing” option automatically creates a draft invoice. For example, you might visit a customer on a weekly basis, but you want to bill them monthly.
So, by selecting the “Draft" option a draft invoice will be created, and as you visit the customer each week, any line items will be added to the draft invoice.
This way, at the end of the month, you can turn the draft invoice into an active invoice.

The “Project Invoicing" option for instances where you have a project that has you visiting a customer multiple times and adding line items as you go.
When the last scheduled appointment is changed to “completed”, the invoice for the whole project is automatically created.

In the "Terms" field, you can add payment terms, or create new terms by clicking on the plus symbol.
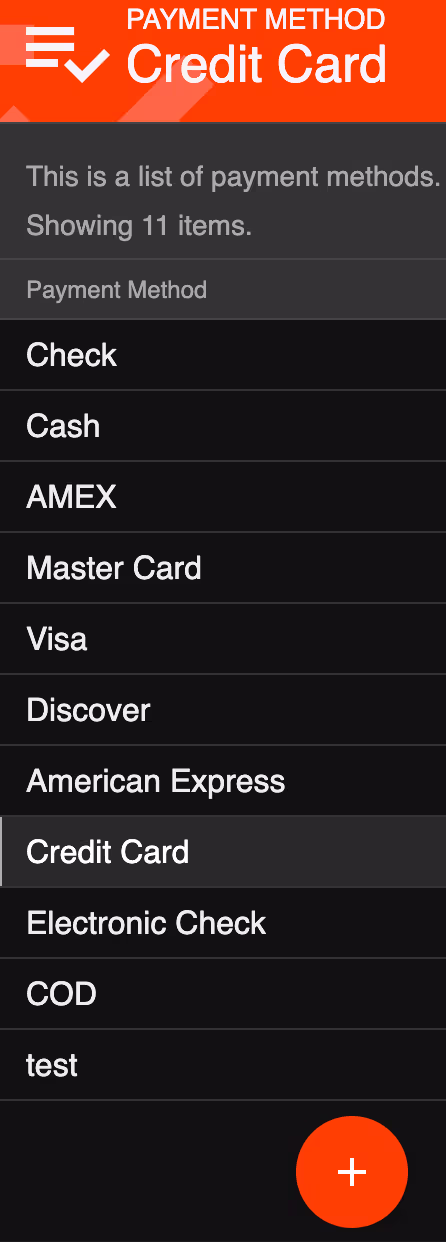
You can choose a Payment Method, or create a new one by clicking on the plus symbol.

In the Delivery Method field, you can decide how this invoice will be sent to the customer.
As demonstrated above, you have 4 invoicing options. The “Immediate” and “Project” invoicing options will AUTOMATICALLY turn a work order into in invoice upon completion.
So let’s find out how to turn the completed work orders into invoices if you chose the “Manual” or “Draft” invoicing options.
If you choose the Manual Invoicing option, you can turn completed work orders into invoices by opening up a work order and clicking on the Invoice Icon at the bottom of the screen.

You can also do this in bulk. Find the “status” column header and click on it. Then select “completed” and click on “apply”.
You can select some of the work orders by clicking in the circles, or select all of them by clicking on the circle in the column header.
On the left of your screen, find the “Invoice Icon” and click on it to turn the selected work orders into invoices.

If you choose the Draft Invoicing option, go to The Accounting Center and select “Invoices”. You can filter for Draft Invoices by going to the top left of your screen and selecting Draft invoices.

To make a Draft Invoice “active”, simply un-check the box next to the desired record. Also, you can select some or all of the records and click on the “Finalize Invoice” button on the left of your screen.

You can also open up a record, select edit at the bottom of your screen, and click on the toggle switch in the "Draft" field. Be sure to hit "save".
From the Invoice Page, you will need to filter for “Open” invoices as opposed to “Paid” invoices. Find the “Status” Column and click on it. Then click on “open” and hit “apply. You can click on an individual invoice record to open it up.

Find the "Send" button at the bottom of the record and click on it.

You will be presented with this screen. We will cover each section.

You can email this invoice to This Customer, The Parent Customer, or Another Customer if applicable. Also, you can add one of your employees to the email.

In the next section is where you will write the Subject and Body of your email.
Or you can select from a list of email templates that you have already created. Learn more about email templates below.

The next section offers you options such as sending the invoice with, or without Line Item Pricing.

You can also include other assets such as The Equipment Report, attachments, or any other necessary collateral.
You can send invoices in bulk as well, using many different filtering options. For instance, you can click on “filter” near the top of your screen. From here, you will have options such as open invoices, and past due invoices.
In this example, we will select invoices that are 60 days past due. Again, you can choose some, or all of them by clicking on the circles next to the records. On the left of your screen, find the “Send Email” button.

Now you can write an email, or select from a template.
Also, you can send these customers a text message by clicking on the “Send Text Message” button on the left of your screen.

If your business has linked a QuickBooks Online account to Smart Service Cloud, you can send copies of invoices to QuickBooks Online for your company’s records.
On the left of your screen, you will find folders for your invoices. Click on “Pending for QuickBooks” to see invoices that have yet to be sent to QuickBooks Online. You can click on an individual invoice to open it up. Click on the “Quickbooks” icon at the bottom of your screen to send the invoice.

Also, you can send your invoices to QuickBooks Online in bulk by selecting some, or all of them as previously demonstrated. Find the “Quickbooks” icon on the left of your screen and click on it.
