Have a question? Enter a search term. Or give us a call at 1-888-518-0818
Smart Service Cloud comes with a route-optimizing feature to help you find the best route through your appointments. Users with access to these routing tools can select a number of stops, optimize, and schedule them accordingly.
This feature is for those who want the best strategy for visiting all of your customers, if you need to get to each customer at a specific time, please consider the “suggestions” feature when scheduling appointments.

To access this feature, make sure your office employees have the “Route Plan” permission. You will also need to have appointments with service addresses entered to make use of this feature. Lastly, make sure each field tech has an address listed on their employee profile as this will be their starting/ending location for routing.
There are actually three routing features available in Smart Service Cloud. We have an “Optimize Route” feature that routes the stops for a given day. We have the “suggestions” feature which helps find the best time to do a single appointment.
Lastly, we have a “Route Planning” feature that plots appointments on a map and lets you create routes from there. While you have access to all three features, you’re likely to use them in different scenarios.
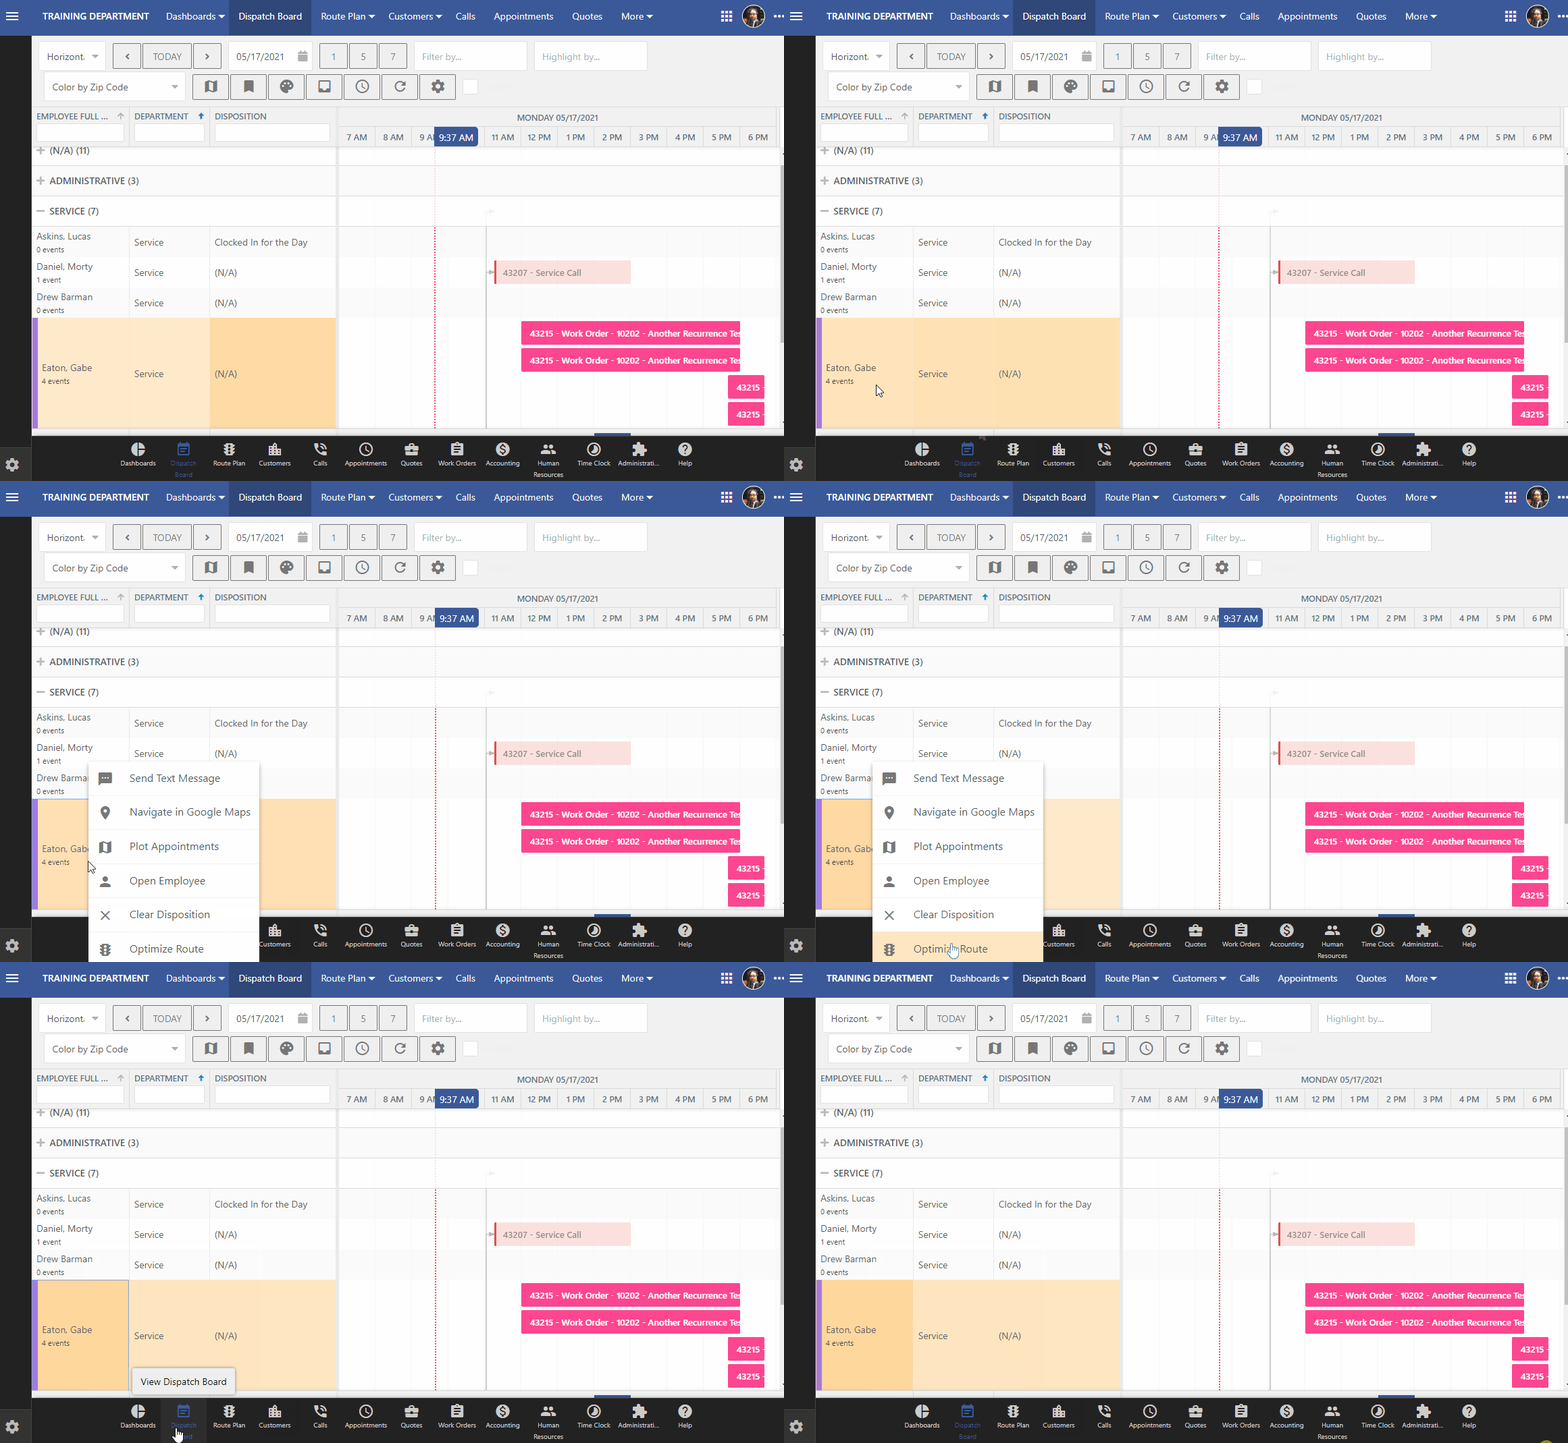
This is the “quick and easy” version of the routing feature which can be done by right-clicking an employee’s name on the dispatch board. This option will look at your employee’s starting/ending address, and the address of the stops you have assigned to them for the day.

Using the “Optimize Route” feature is a great way to quickly coordinate your employee’s schedule. Please keep in mind that using this feature will rearrange that employee’s scheduled visits for the day in order to put these visits in the most convenient order. This feature does change appointment times, so if you plan on using it make sure you’re telling customers the right information.
When you’re creating a new appointment, you might have noticed the “suggestions” button at the bottom. This option is here to help you find the best times/dates to place this service on the dispatch board. Once you’ve selected your customer (and picked a service address) click the suggestions button.

When you open the suggestions feature, you’ll be presented with the above options to choose how much time this service should require, how many days out you’d like to look, and who should be eligible to do this service. You’re choosing these options so Smart Service Cloud knows what criteria to look for in the available time slots.
Once you click “OK” at the bottom, Smart Service Cloud will automatically schedule the job for the desired timeslot. From there, you can continue with filling out information for this service.
The largest feature of our routing tools is the “Route Planning” feature which helps create routes from a handful of work orders. Before you use this feature you will need to have some scheduled work orders already. This feature isn’t available for quotes or appointments.

When you’re ready, head over to the Work Orders Center. From there, we can select the work orders we want to add to the route plan. If you go into the route plan without doing this, you won’t have anything to route! Use the checkboxes to the left of each work order (or use the check all at the top) to select the work orders you want to route. Afterwards, you can click the “Push Selected Work Order(s) to Route Plan” button on the left.
The next step is to go into “Route Plan Details” which you can access by hovering your mouse over the Route Plan Center at the top of your screen. Verify that all of the “unrouted” appointments have service addresses, as well as a Lat/Long associated with them.
If any work order is missing this information won’t route so click on them to get it fixed! We’ll come back to this screen later to verify our route, but for now, you can head into the Route Plan Center.

To get started on routing, click the “Begin Drawing” button at the top of the screen, then draw a circle around the appointments you wish to assign to our route. You can create multiple routes, zoom in/out on this map, or assign these appointments to an existing route by clicking on that route after circling some stops.


If you choose to create a new route this time, you’ll have to give it a name, color (this will be used to show which stops are part of what route), an employee profile/vehicle that does this route, and the starting/ending time for that employee/truck.
This route will be added to the list of routes for next time as well.
When you’re ready, click “Save” at the bottom to confirm this new route.
Once you’ve added your new route or added your new stops to an existing route, you can click on the route on the left and select the employee profile for this route. Then click “Begin Drawing” again so we can assign stops to different days.

When we do this drawing step for the second time, we’re deciding which stops and how many of these stops need to be done on which day. When you release the mouse, Smart Service Cloud will give you a list of days to pick from. Once these stops are split out like this, we can continue to the optimization step.

To finally put your stops in order, click the “View Route Plan Details for Selected Route” button on the left to be taken back to the route plan details screen. Make sure you’re filtering by “Routed & Optimized” at the top of the screen. If everything looks good, click the “Make Routed and Optimized Stops Live” button. This will confirm your changes and places these stops on the Dispatch Board accordingly.