Have a question? Enter a search term. Or give us a call at 1-888-518-0818
This rental service process covers anytime you rent out equipment to customers and pick it up when they’re done. While working with rental companies in the past, we’ve noticed many of you have specific needs when renting things out. With that in mind, the following process is a general recommendation for a starting point on the way to customizing your own rental process.
Before we get started, there are a few things you should set up. In the following process, we're going to use the equipment features already available to store and track our rental equipment.
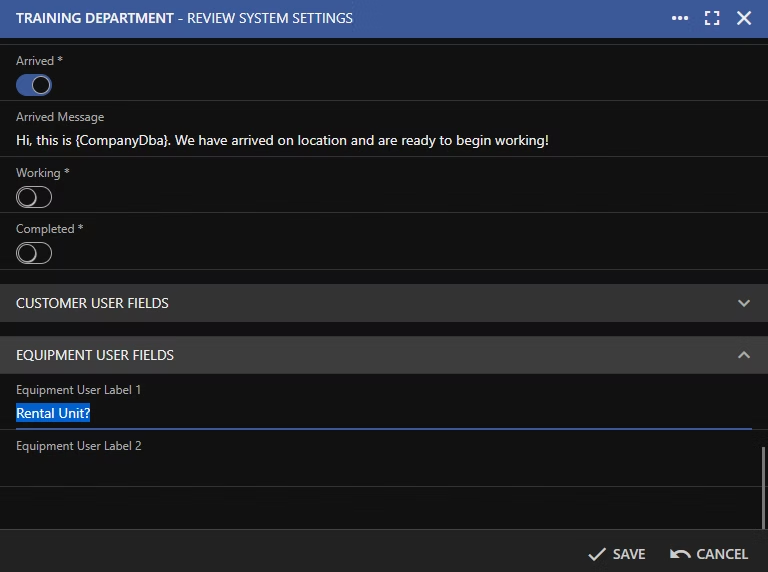
For the first step, go to Administration > System Settings > click on your company > Click edit > and scroll to the bottom. Open up "Equipment User Fields".
Here’s where you can create user-defined fields (UDF’s). Create a new field called “Rental” or “Rental Unit” as shown.
Once you’ve added this field, click save to confirm your changes and close this screen.
The reason for creating this field is that we’re using the equipment section, which can also be used for customer-owned equipment. By creating this field, we can differentiate between customer-owned and company-owned equipment.


Here, we have an example of what we’re going to create with the equipment records.
As you can see, there’s already space for a name and serial number for the equipment. We also have a space for photos and a GPS pin of where you left the item on the customer’s site.
While we use this equipment record to track what item was loaned out, we can use the appointment to track how long it’s been out and when to get it.
When a customer requests a piece of rental equipment, we need to get started with a work order. Head over to the dispatch board and left-click and drag to select a time and date for the drop-off. When you release, select the “work order” option.
This will open the “Work Order Appointment” level where you can specify the customer and provide a job description, like “Equipment Rental”. Click save at the bottom when you have this information added to the appointment.
You don’t actually need to do anything further with this work order at this point. Our next few steps will cover how to add items and other things to the work order, but your field tech can also do that from their side of things. If you choose not to add further information now, it will still be automatically sent to the field tech!.

If you want to add the rental item to the work order yourself, double-click on the appointment from the dispatch board and open the work order as shown below.

Inside of this work order, you can add notes, items, and the rental equipment for the field tech. They will also have the ability to add and edit this section. If it’s important that the field tech grabs a specific rental unit, you should assign that new equipment to this service using the “Equipment” section.

As mentioned above, we’ll use the “Equipment” section to store equipment rentals, in addition to the usual customer-owned equipment.
Here, we have a generator rental equipment record. To indicate that this item is a rental, you could use the “Status” field or the UDF you created earlier for equipment.
Click “Save” at the bottom when you’re done entering information.
The sections above have a “New…” button in them where you can add new items, equipment, attachments, or purchase orders. For the notes section, you can click the “Edit” button at the bottom of this screen. We highly recommend using the “time stamp” feature for notes on rental services so it’s easier to tell when things were dropped off or serviced.
When you’re done click the “save” or “close” button at the bottom. This work order will automatically be dispatched to your technician.
Once the equipment has been dropped off, we can move this appointment to the waiting list until you’re ready to go and pick it up. If your company doesn’t operate this way, you could instead add an estimated pickup date.
To move this appointment to the waiting list until you’re ready for the pickup date, right-click the appointment and change the status.

When you choose to move this appointment to the waiting list, we’re putting the appointment on hold for the duration of the rental. At any time you could move the appointment from the waiting list to the calendar to handle the pickup. Once that’s taken care of, we can bill the customer for the number of days that have passed since we dropped the equipment off.
For those of you who service rental equipment while the customer has it in their care, we recommend you use our “Service Call” for one-off repairs or our “PM Process” for routine maintenance. Since this equipment record is connected to the customer, you can service that equipment on other appointments for the customer.
You can view the rented equipment via the customer center at the top of your screen. Hover over the word “Customer” and you’ll be presented with some options, including an “Equipment” view. From there, you can click on the column headers to filter down to rental equipment.

When it’s time to schedule the pickup, you can find and schedule the original appointment from the waiting list. You can search for the appointment using the customer name, then drag and drop the appointment to an available spot on the Dispatch Board.

If you want to make sure we charge the appropriate amount for this rental, we recommend you open the work order and add the correct item and price yourself. As recommended earlier, we suggest you use your timestamps from the previous visit to determine when the item was dropped off. Some companies opt to store this information on the equipment itself of a line item. Anything works as long as you put the date in a consistent place!.
When you’re ready, save and close the work order or leave it as-is like in the example above. It will automatically be sent out to your technician.
The review process for rentals is quite similar to the review process of other service types with one exception. Depending on how and when you choose to charge for rentals, we need to make sure the correct prices and items are accounted for.
For this guide, we’re assuming that your field tech marks a work order as complete and doesn’t collect payment on site. If your field tech does collect payments, you can skip this section and instead check out our article on collecting payments abd sending info to QuickBooks Online.
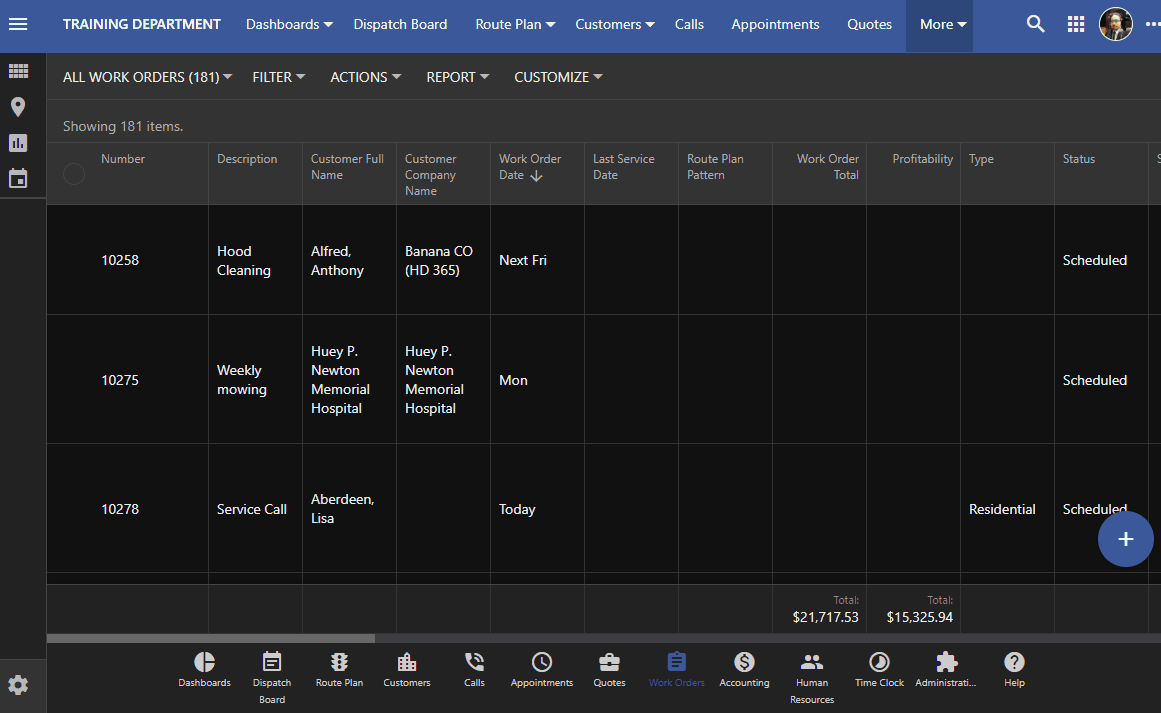
The first step in the Work Orders center is to filter down all of your work orders to just the completed work orders from recent dates. You can click on the column headers to make these changes as shown below. Once these completed work orders are changed over to invoices, their status will be “Invoiced” so filtering by completed will show you the completed work you don’t have invoices for yet.
Click on each work order individually and review the information the field tech has added. If the work is done you can turn that work order into an invoice by clicking the “Invoice” button at the bottom.
