Have a question? Enter a search term. Or give us a call at 1-888-518-0818

In this article, we'll explore how Smart Service Cloud can help you effortlessly track and manage your company's essential Assets. Whether it's tools, safety equipment, backhoes, or any other resources vital to getting the job done, Smart Service Cloud ensures you always know where everything is and how much you have on hand.
You will find your Assets by hovering over The Accounting Center at the top of your screen and selecting "Assets". For this example, I have already created "Ladder" and "Personal Protective Equipment" Assets.
You can seperate the Assets by category by clicking on the three dots near the top of your screen. Click on "Group", then select "Category" then click "Apply".

From the Assets Page, click on the "plus symbol" at the bottom-right of your screen. You will be presented with the screen below. For this example, we will be adding a few Backhoes and creating a new category called "Heavy Machinery".
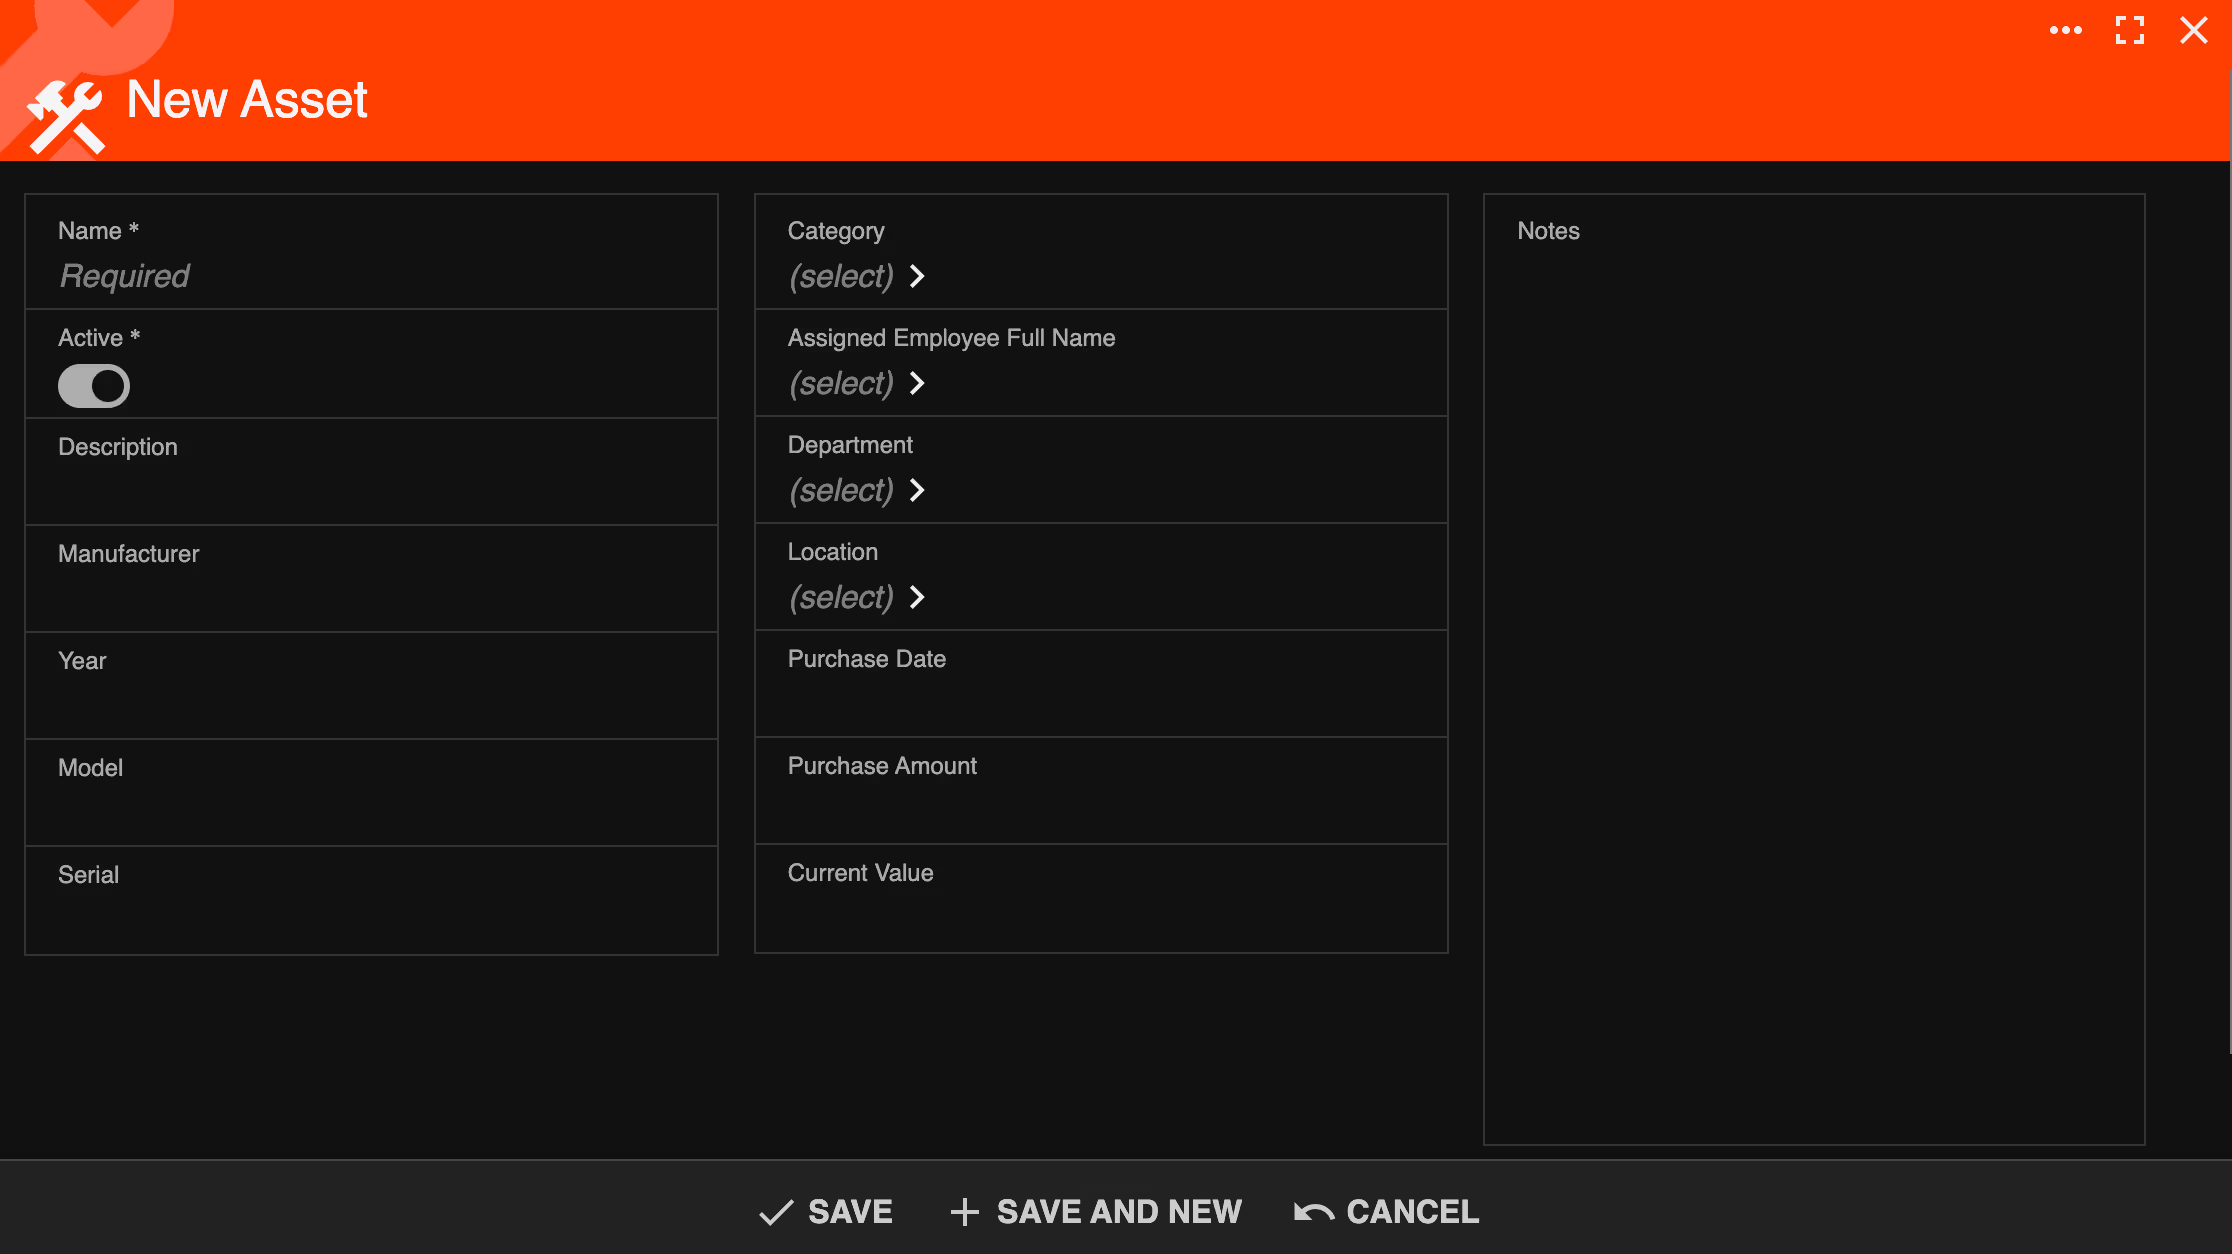
Let's cover each section individually.

When giving an Asset a name, consider that you may be adding identical Assets, therefore you might want to give each a unique name. In this case, I added "#1" to the name.
You can activate or deactivate an Asset. This feature may come in handy in the event that the Asset is being repaired, but you don't want to delete the Asset permanently.

In the "Category" field, click on the arrow then click on the plus symbol at the bottom-right of the window. We will create a new category called, “Heavy Machinery”, then select it.

In the next three fields, you can click on the arrows to select from a list, or add to the list, just like you did in the Category field.Then you can add purchase information.

In the Notes section you can add more information.
If you are adding multiple Assets that are identical, you can duplicate an Asset by hovering over the left side of the Asset record, and finding the circle. Click on that, and you will see “duplicate” on the left of your screen.
Then you can make any changes to the duplicated Asset record. In this case, we will simply give this one a unique name and change the serial number.

Now that you have added your Assets to your database, I will show you how to schedule your Assets to a job. As you can see on the Asset Page below, we only have one 48' Ladder. If an Asset is already scheduled, you will be alerted when attempting to schedule it.

After scheduling an appointment, click on it to open it up. Find the “Assets” tab near the top of your screen.

You will have the option of adding one Asset or multiple Assets by clicking on either "New" or "Multi-New".
In this example, let’s add a ladder, safety goggles, and a backhoe. So click on” Multi-New”.

We will start by adding a few ladders by clicking on the Ladders category. You will see that the 48' ladder is already scheduled to another job. So we will select the 36' and 12' ladders. Then hit "OK".
After that, you can click on an Asset that you just scheduled and add location information and other notes.

Then we will click on "Multi-New" again, and select some Personal Protective Equipment as well as a Backhoe.

As previously demonstrated with the 48' Ladder, you can't book an Asset that is already in use. In the event that you would like to override this, select "New" and book the Asset from there.

Go to the Appointments Center near the top of your screen and hover over it. Click on “Assets”. Here you can see when and where your assets have been and are currently being used. On the left of your screen, you can click on the “Calander” view. You will see what assets are currently being used and what appointments they are being used with. You can click on an appointment for more details or make edits.
